Free Course: 5 Steps for Creating an Optimized School Event Page (Lesson 2)
Welcome to lesson two! If you missed the first lesson in this course, you can find lesson one here.
In this lesson, you will learn about the different steps to take when creating an optimized event page. Meaning, a page that attracts viewers, markets your event(s) and sells tickets.
Let's start with the first step:
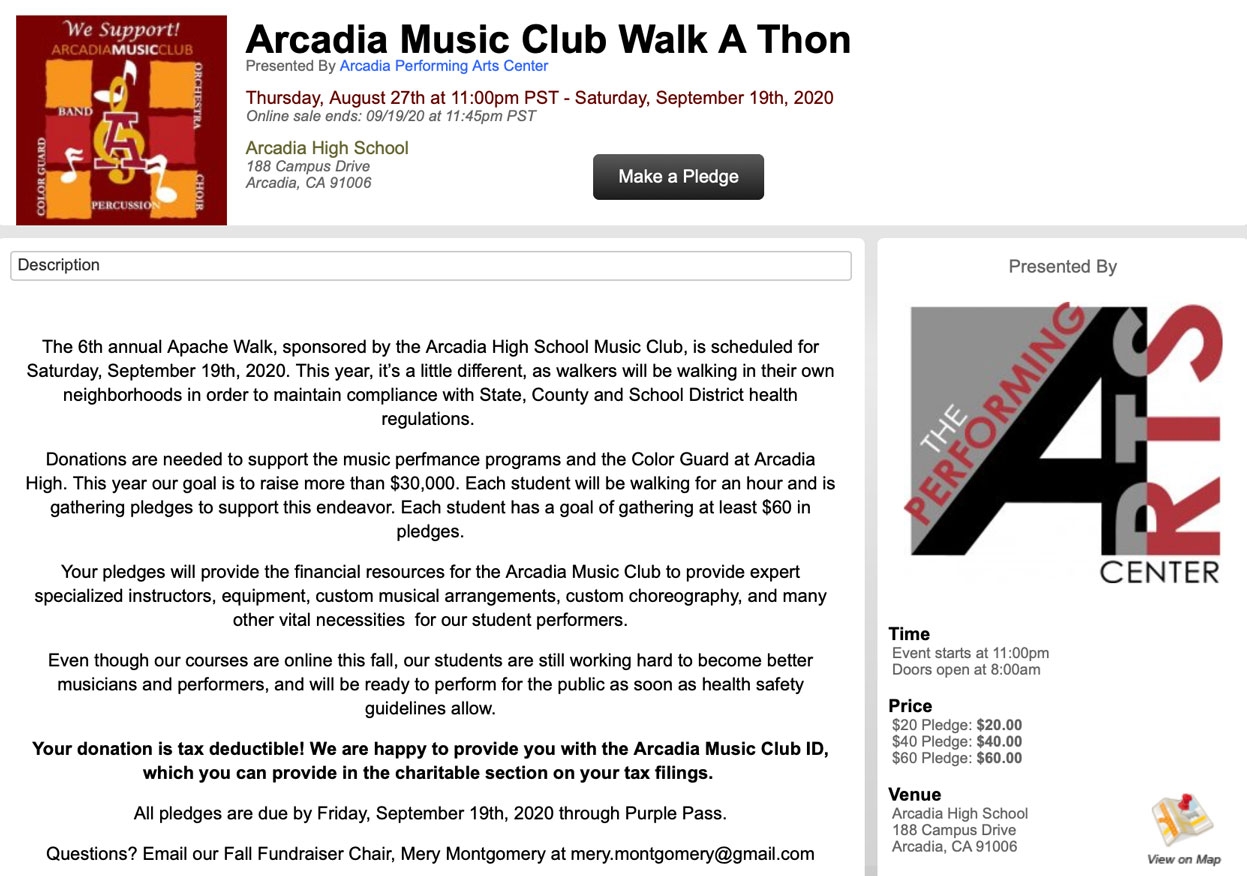
1. Adding event details and descriptions
Sounds basic, I know.
However, this is one element in page design that most school districts overlook. Administrators assume students, parents and patrons are already aware of the event which translates to a weak event description.
 Don’t assume they know what it’s about.
And if they do, don’t assume they see all the benefits of attending. This is your chance to convince them! Show them what they will miss out on and why they need to buy tickets now.
Remember your target audience before you write. Convincing a student to attend is not going to consist of the same selling points when trying to sell parents or patrons. So, always consider who you are talking to.
Tips for writing effective descriptions and event details:
-
Include all the event details (location, venue, time, doors open, etc.)
-
Don’t be too journalistic or use advanced terminology. Keep it casual while remaining professional; remember you want to be relatable.
-
Don’t just talk about the event, but how it will benefit your guests ( “Once in a lifetime chance”)
-
Talk about your guests, artists, and speakers if applicable (leverage their audience - we will learn more about this in later lessons)
2. Include additional media and videos
Now your page is filled with great detail and striking conversation. Is that enough?
Probably not.
Would you attend an event solely based on a description? Depends how convincing the writer is. Most of us look for testimonies, images, search on YouTube for videos of experiences to see what it’s all about.
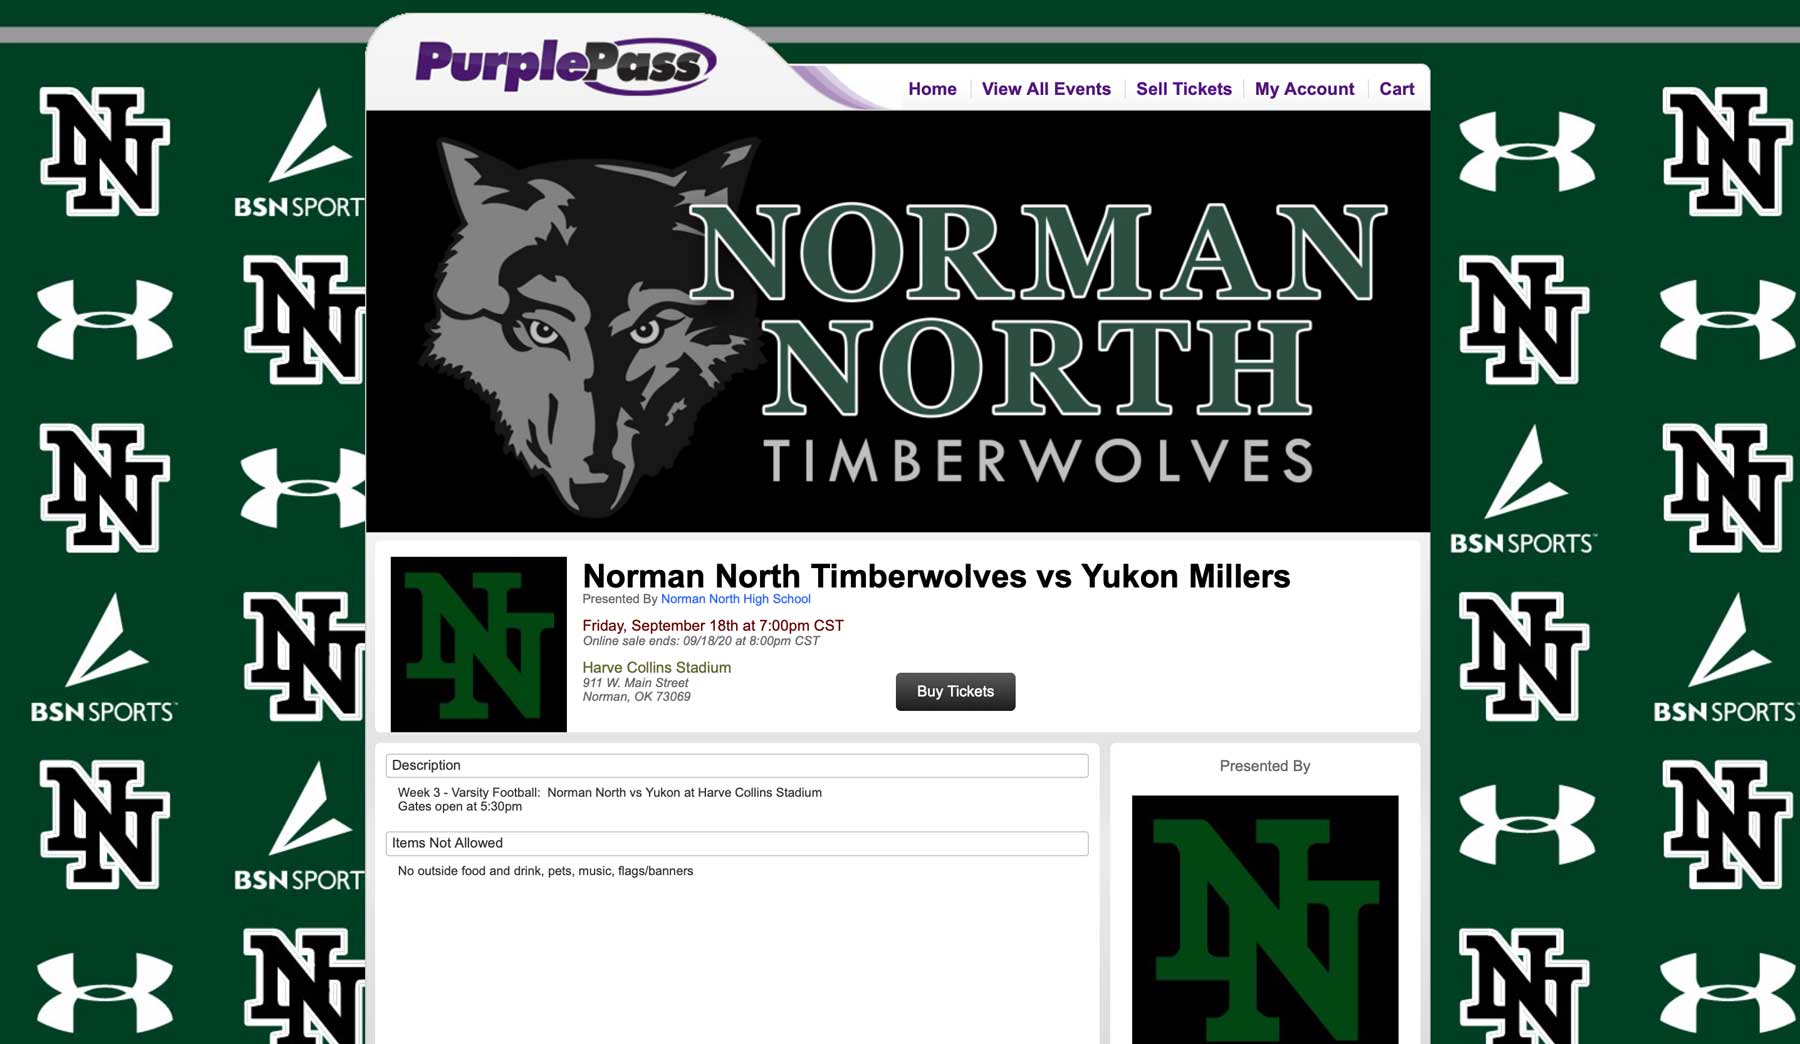
If you have the available resources (graphics, logos, videos) make sure you are incorporating them onto your page where you can.

Tip: Purplepass users can easily add media, embed videos, graphics, etc. during the event creation process. If you have everything you want to include ready, the process takes just a few minutes!
3. Adding sponsorships, logos and ads
If your event includes sponsors or your school wants to include an ad, they can also be added within your Purplepass account. Athletic departments tend to have active sponsors or partnerships looking for places where they can be incorporated into the marketing of the event. The event page is the perfect place to put these ads!
Find a space that works, create an ad or your sponsor’s logo, and include that on your event page. You can even include a link back to their website if attendees want to learn more about them. 
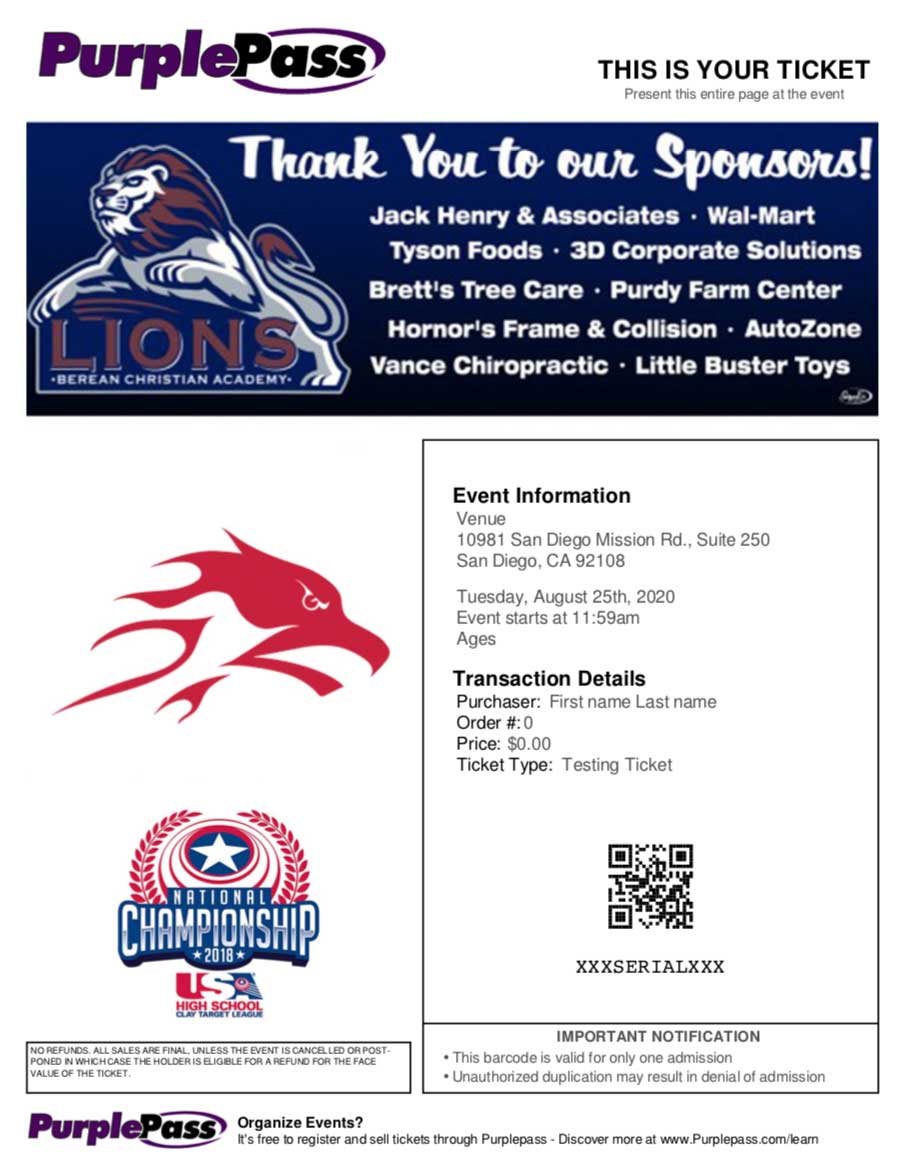
Tip: For Purplepass users, you can also include graphics on your custom print-at-home tickets. You can learn more about potential sponsor logos and ad placements on your ticketing here.
4. Incorporating social media links and integrations
If your school is on social media (Twitter, Facebook, LinkedIn, etc.), include those social links on your event page. Look for other social media integrations you can use to embed sharing options onto your page.
For example, Purplepass’ Facebook integration allows promoters to encourage or request that guests like their page or share their purchase at checkout. The integration's auto check-in option gives guests the option to link their tickets to their Facebook accounts.
When they arrive and are scanned into your event, their status will appear on their feed and their followers will see that they are at the event. That way, guests can keep up with their social media and sharing, while, at the same time, growing your event’s awareness.

5. Adding personalized messages, notes and terms to a page
The option to include custom notes on an event page strictly depends on the ticketing software you’re using. Leaving “thank you” notes, alerts or other notifications at checkout are the extra touches that guests will notice and appreciate.
Here are the options Purplepass users have for adding custom messages and text:
-
Custom terms and conditions
-
Change of verbiage (you can change the buttons on your page)
-
Messages on receipts and email confirmations
-
Indication of what’s “Not Allowed”
-
Special notes to pass on to Purplepass’ telephone staff if they are taking phone orders. Learn more about phone orders here.
These are not the only options for creating a fully optimized event page, however, these steps will help nurture the buyer's journey and later translate to ticket sales.
Ready for your next lesson?
Lesson three is all about creating custom ticket types and packages for all your school events (athletics, registration, lectures, performing arts, examples, etc.).
|
Lesson #3Creating ticket types |
View previous lessons


