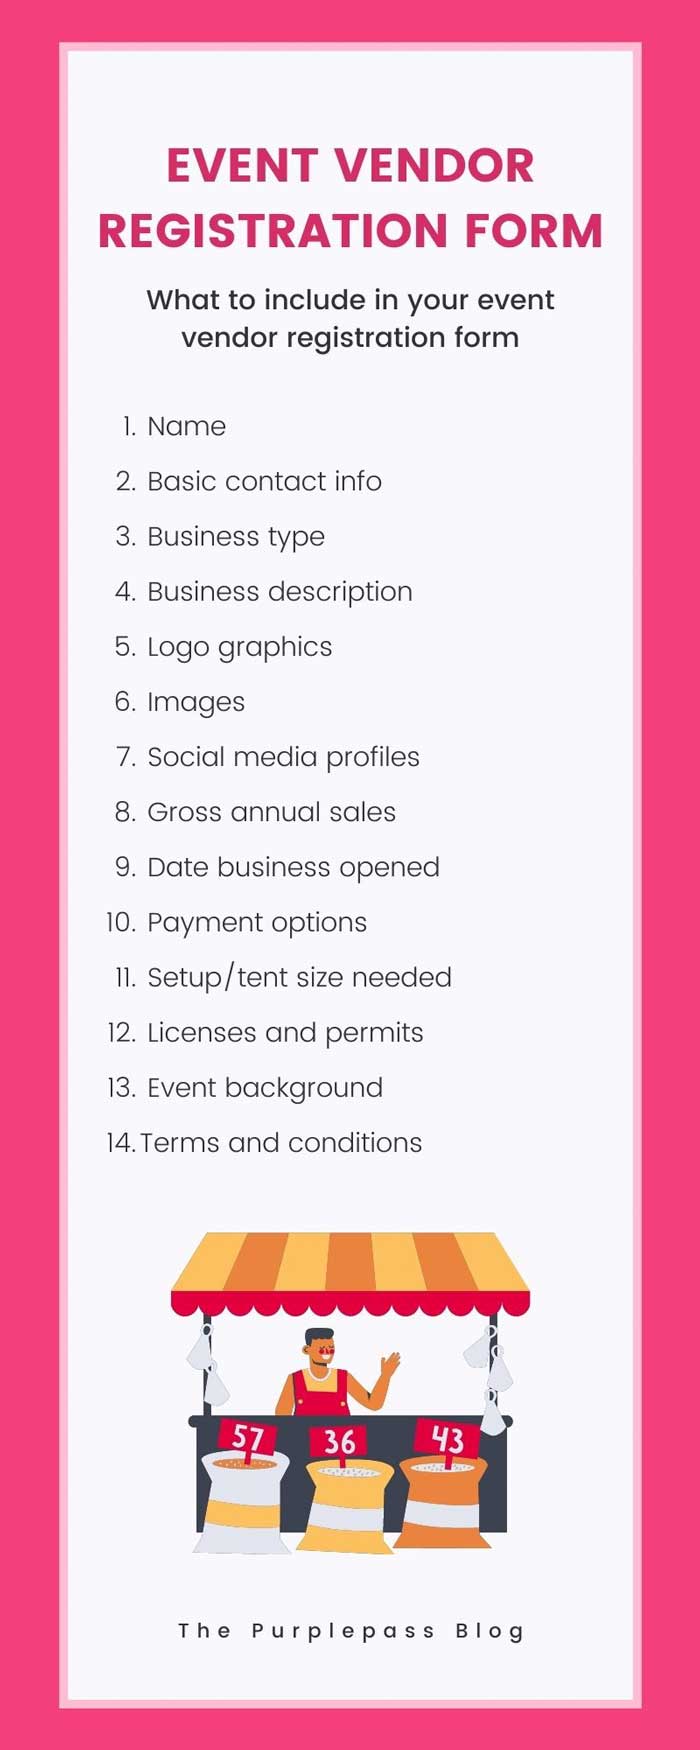
What to Include in Your Event Vendor Registration Form
While the vendors will come on board as individual entities separate from the event organizers, the buck stops with you.
Therefore, it’s essential to vet all the vendors and determine if they can deliver the quality of services that your audience expects.
(1) Typically, you’ll send out a public call for vendors and select just a few from the many applicants.
(2) Sometimes, you may have to approach and invite individual vendors, especially if they have an excellent reputation and are likely to help you attract more people.
Either way, you should first evaluate and determine their suitability.

Fields to include in your event vendor's registration
-
Name: Ask the vendor to state the name of their establishment and the proprietor. If they are coming with other people, let them list down the names of everybody in their team. Because of the prevailing COVID-19 circumstances, you may also want to ask them to upload their vaccination or COVID-free certificates.
-
Basic contact information/Residential information: How will you reach them? At the least, each vendor should provide an email address, phone number, and an alternative telephone number. You can also include a slot for their office or residential information.
-
Business type: What does the vendor sell, or which kinds of food do they deal with? This information is crucial because you wouldn’t want to have an event with only one type of food and lack of or insufficiency of others.
Before you send out a call for applicants, you should first determine the number of spaces you have and the number of stations you want to dedicate to each type of food. -
Business description: Include a line or two for the vendors to tell you more about their business.
What kind of market do they target, or do they regularly serve?
What are their price ranges?
How many employees do they have?
Such details will help you determine if the vendors can provide the service your attendees expect. -
Logo graphics: Ask the vendors to attach their logos for marketing. You can then attach these logos to your posters, videos, and other promotional materials.
-
Images: Besides the logo, you should also have a place to attach pictures. This could be pictures of their past events, offices, or equipment. Like the business description, images help you have a detailed feel of how the business operates.
-
Social media profiles: Have a field for links to the vendors’ social media accounts and pages. Every organizer wants to work with a vendor who’s active on social media and able to promote their event online. Also, briefly go through the profiles of their followers to see if they resonate with your type of audience.
-
Gross annual sales: This is a field that many event organizers often overlook, yet it’s very fundamental. The volume of sales a vendor makes tells a lot about them. For instance, the higher a vendor’s gross annual sales, the more people they can serve. You wouldn’t want to bring onboard a vendor that’s used to attending to fifty people a day to an event that will have thousands of attendees.
-
The year they opened business: The longer the vendor has been in business, the better. It means they have the requisite experience and an understanding of what the audiences expect.
-
Payment options: This field is crucial in arrangements where the vendors pay you based on the volume of sales they make.
Will they be accepting cash or card payments?
And how will you be able to track the sales? -
Setup/Tent size they need: Ask every vendor to state the amount of space they need. Also, do they need a tent, or will they erect their structures?
-
The licenses they have or need: It’s your duty as an organizer to ensure that your event has all the permits. Licensing authorities usually go after the planners, even if it’s just one vendor caught in violation. Therefore, cross-check to ensure that every vendor has all the required permits. Here are some outdoor event permits that you and your vendors might need to gain.
-
Have they previously worked at events like yours? Or, is this their first time?: With event planning and service delivery, nothing beats experience. Vendors should have a firm grasp of crowd control, customer relations, and stress management.
That’s why most organizers prefer working with the same vendors throughout all their events. If there are any new entries, ask them to highlight how they will adapt to your environment. -
Attach terms and conditions at the end: As is with every contract, you should clearly state the terms of the agreement. Ask the vendors to read them and consent before submitting their applications.
How to create a vendor sign up page with Purplepass
1. Log into your Purplepass account
2. Click "Create New Event"
3. Click "Create One Time Event"
Fill in all the basics like you're creating an event. However, a few things to remember during the creation process:
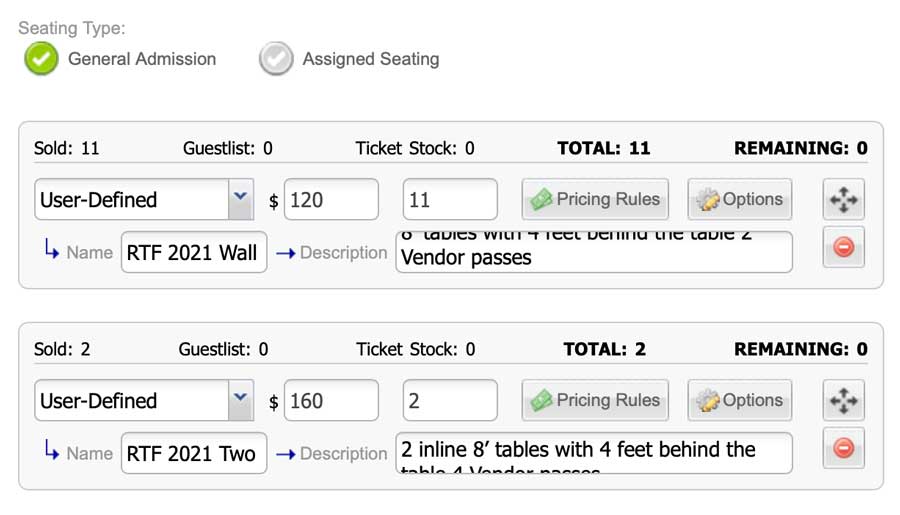
- The "Ticket pricing and options" section is where you can create different package options for your vendors.

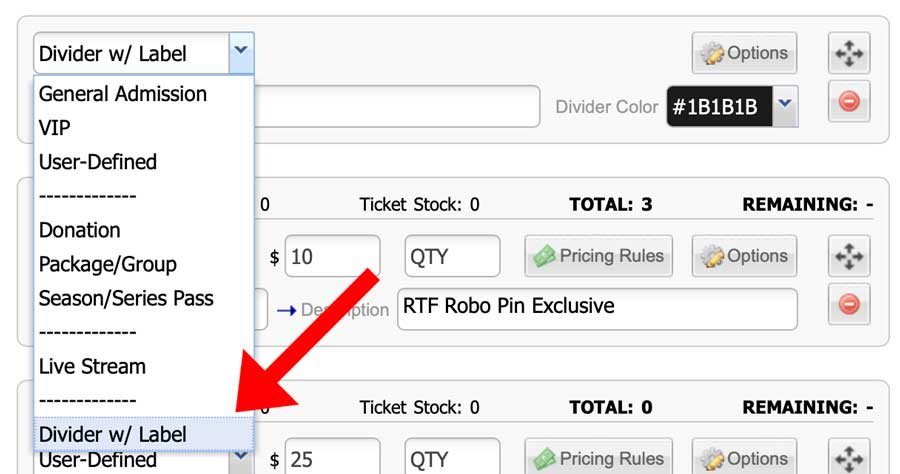
- Select "Divider w/ labels" to create sections on your registration.


- During the sign-up process, you can add custom checkout questions using the questionnaire options.
- To change the button to something more relevant, like "Vendor Registration" or "Register", use the custom text tool in the last creation section.


